Leveraging Twingate for Easy and Secure Home Network Access
A little while back, I decided it was time to finally set up a simple and secure way to reach my home network from anywhere. I’ve got a Raspberry Pi doing all the usual stuff DNS, NAS, ETC.
I wanted access on the go without punching holes in my router or exposing anything to the internet.
What is Twingate and Why Use It?
Twingate is basically a secure tunnel into any network you can host a connector on.
For home users it’s free with the base set of features.
How I Set It Up
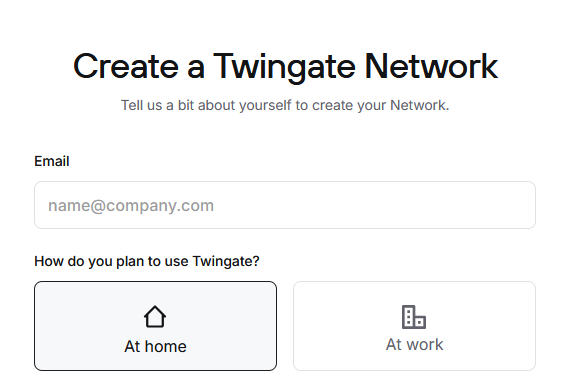
Step 1: Registering for Twingate Their onboarding process is straightforward. You can sign in with Google, Microsoft, GitHub, and other identity providers, making the setup simple for OAuth from the get-go. 
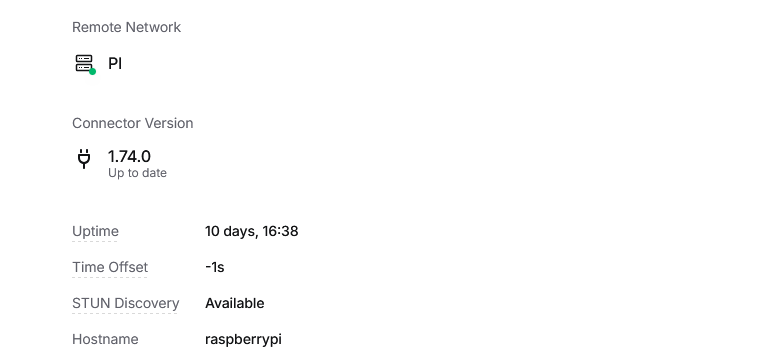
Step 2: Deploying the Connector I dropped the Connector on my Raspberry Pi (which is always on anyway). It acts as a bridge between my home network and Twingate’s access point. They’ve got Docker containers and CLI scripts that make deployment super quick — it honestly took just a few minutes.  Step 4: Installing the Client Finally, I installed the Twingate client on my phone and connected
Benefits I’ve Noticed
No open ports: I didn’t need to modify my router or expose any services to the web.
Zero configuration changes to my internal network: Everything runs behind NAT like normal.
Logs and traffic monitoring: Twingate provides simple traffic logs so I can see what devices connected and when.
